
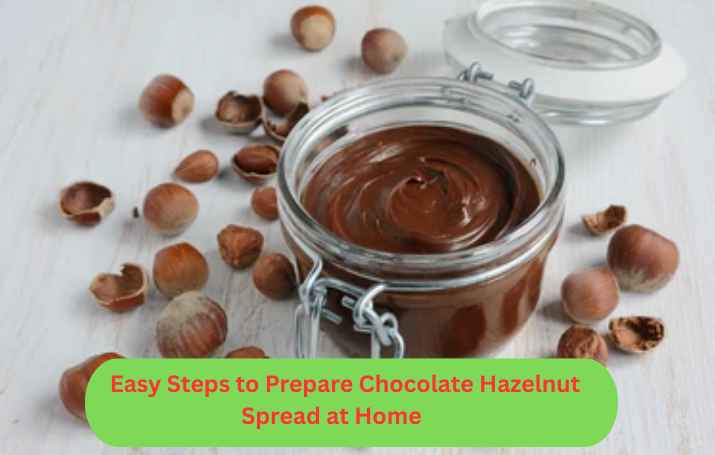
Easy Steps to Prepare Chocolate Hazelnut Spread at Home
Introduction
There’s something truly comforting about chocolate hazelnut spread. It’s a sweet, creamy favourite that people of all ages enjoy—whether you’re spreading it on hot toast, pouring it over pancakes, or dipping fresh fruit in it. It instantly adds a touch of indulgence to your snack or meal.
Store-bought jars are convenient, but they often have extra sugar, fake flavours, and preservatives added. It is surprisingly easy and better for you to make your own chocolate hazelnut spread at home. You’ll be able to choose what goes in and use clean, natural products that feel and taste better.
In this blog, we’ll show you how simple it is to make one at home. There are no quick fixes or chemicals involved—every spoonful is filled with pure, home-cooked goodness.
Why make it at Home?
Homemade chocolate hazelnut spread has several advantages:
- Customizable ingredients – control the sugar, salt, and chocolate intensity.
- Fewer additives – avoid preservatives, emulsifiers, and palm oil.
- Freshness – made on-demand and stored fresh.
- Allergy control – easy to make nut-free or dairy-free alternatives.
Once you make it yourself, you might not want to go back to store-bought versions.
Ingredients you will need
You only need a handful of ingredients, most of which you probably already have in your kitchen:
- 1 cup raw hazelnuts (about 140g)
- 2–3 tablespoons unsweetened cocoa powder
- 3–4 tablespoons powdered sugar or natural sweetener (adjust to taste)
- 1 tablespoon neutral oil (sunflower or hazelnut oil works well)
- 1 teaspoon pure vanilla extract (optional)
- A pinch of salt
- 2–4 tablespoons milk (optional, for creamier texture)
Step-by-Step Preparation Guide
Step 1: Roast the Hazelnuts
Set your oven to 180°C (350°F) and put your hazelnuts on a baking sheet. Roast them for 10 to 12 minutes, or until the skins start to crack and turn darker.
Roasting not only makes the nuts taste better, but it also makes the skins easier to peel off.
Step 2: Remove the Skins
Once the hazelnuts are hot, rub them in a clean kitchen towel to remove most of the skins. If some pieces are left over, don’t worry—it won’t make a big difference in the end.
Step 3: Blend the Nuts
Put the hazelnuts that have been peeled into a food processor or blender with a high speed. You can blend them on medium to high speed for three to five minutes, stopping every so often to scrape down the sides.
The hazelnut butter will go from crumbly to coarse to smooth once the oils are out. Wait—this is important for getting a silky feel.
Step 4: Add Remaining Ingredients
Once the hazelnut butter is smooth, add:
• Cocoa powder
• Sugar or sweetener
• Oil
• Vanilla extract
• Salt
Blend again until everything is well incorporated. If the spread is too thick, gradually add a little milk or water to achieve the consistency you prefer.
Step 5: Taste and Adjust
Give it a taste. Want it sweeter? Add more sugar. Prefer a deeper chocolate flavour? A little more cocoa will do the trick. Customization is one of the joys of making it at home.
Storage Tips
Transfer your spread into a clean, airtight glass jar. Store it in the refrigerator for up to 2–3 weeks. The texture may thicken slightly when chilled; simply let it sit at room temperature for a few minutes before using.
Avoid using wet spoons in the jar, and always keep it sealed tightly to maintain freshness.
Optional Variations
You can get creative with Flavours and textures by trying the following:
- Dairy-Free Version: Replace milk with almond milk or skip entirely for a thicker spread.
- No Sugar Option: Use dates, maple syrup, or stevia instead of sugar.
- Crunchy Texture: Add finely chopped hazelnuts at the end for a bit of crunch.
- Dark Chocolate Twist: Melt dark chocolate and blend it in for extra richness.
Final Thoughts
The process of making your own chocolate hazelnut spread is easy and fun. You can make a tasty treat without any added chemicals with just a few items and a blender. It tastes better than most store-bought versions.
This chocolate hazelnut spread recipe is a great place to start if you want to eat less processed food, meet dietary needs, or just add a homemade touch to your food.
If you want a chocolate treat next time, don’t go to the store; your kitchen has everything you need.