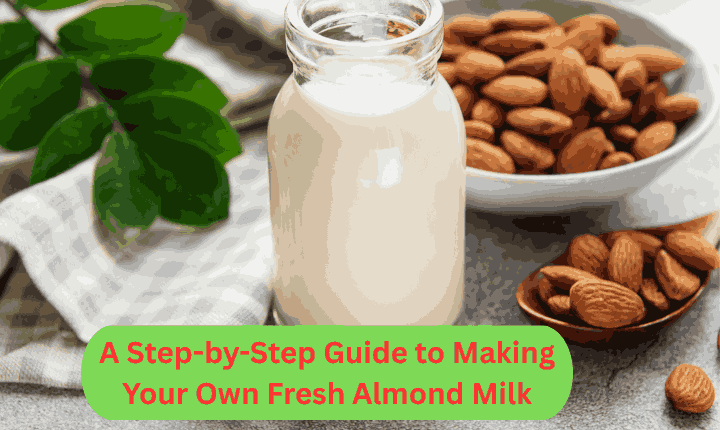
A Step-by-Step Guide to Making Your Own Fresh Almond Milk

Introduction
Many people around the world now drink almond milk instead of cow’s milk. Almond milk is a tasty and healthy choice if you can’t have dairy, are a veggie, or are just trying to cut back on unhealthy foods. Store-bought almond milk, on the other hand, often has extra sugars, chemicals, and other things added to it. Of course, it’s much better to make almond milk at home than you might think.
You can make your own fresh almond milk at home with this guide. It includes tips, how to store it, and the health benefits of almond milk.
Why Should You Make Your Own Almond Milk?
Here are a few reasons to make your own almond milk:
- Healthier Ingredients: No additives, thickeners, or preservatives.
- Customizable: Control the sweetness, thickness, and flavour.
- Eco-friendly: Less packaging waste compared to store-bought versions.
- Cost-effective: Save money in the long run.
Ingredients You’ll Need
- 1 cup raw almonds (preferably organic)
- 3–4 cups filtered water
Optional:
- 1–2 dates for natural sweetness
- 1/2 tsp vanilla extract for flavour
- Pinch of salt
Tools You’ll Need
- Blender (high-speed is best)
- Nut milk bag, cheesecloth, or a fine mesh strainer
- Large bowl
- Glass storage bottle or jar
Step-by-Step Instructions
Step 1: Soak the Almonds – Put one cup of raw almonds in water and let them soak for at least eight hours or overnight. They become softer and easier to mix when they get wet. This process also removes the phytic acid, which makes the ingredients easier to digest.
Step 2: Drain and Rinse – After letting the almonds sit, drain them and run cool water over them to clean them.
Step 3: Blend the Almonds – Mix the soaked nuts with 3 to 4 cups of clean water in a blender. Mix it for one to two minutes, until it’s smooth and creamy.
Step 4: Strain the Milk – To get the mixture into a big bowl, strain it through a nut milk bag or cheesecloth. Squeeze gently to get all the liquid out. The pulp will stay in the fabric.
Step 5: Flavour (Optional) – Return the strained milk to the blender and add any additional ingredients you desire, such as dates, vanilla, or salt. Mix it again until it’s smooth.
Step 6: Store – Put the almond milk in a clean jar or bottle made of glass. Keep in the fridge for up to four or five days. Separation will happen naturally, so shake well before each use.
Tips and Tricks
- Don’t Waste the Pulp: Use almond pulp in baking, smoothies, or as a body scrub!
- Adjust Thickness: For creamier milk, use less water. For lighter milk, add more water.
- Use Fresh Almonds: Always use raw, unsalted almonds for the best flavour.
Nutritional Benefits of Almond Milk
Homemade almond milk is naturally rich in:
- Vitamin E – supports healthy skin.
- Healthy fats – good for heart health.
- Low calories – perfect for weight management.
- Lactose-free – ideal for dairy-sensitive individuals.
Conclusion
It’s easy, good for you, and fun to make almond milk at home. It lets you choose what you eat and is a great step toward living in a more environmentally friendly way. If you follow this simple recipe, you can make fresh almond milk whenever you want. You’ll never buy store-bought almond milk again after you try this!
Our PrimeNuts Products


